A Comprehensive Guide to Setting Up Your Trezor Hardware Wallet via Trezor.io/start
In the ever-evolving world of cryptocurrency, securing your digital assets is paramount. Trezor, a leading name in hardware wallets, offers a straightforward and secure method to safeguard your crypto holdings. If you've recently acquired a Trezor device or are considering one, this guide will walk you through the setup process using the official Trezor.io/start page.
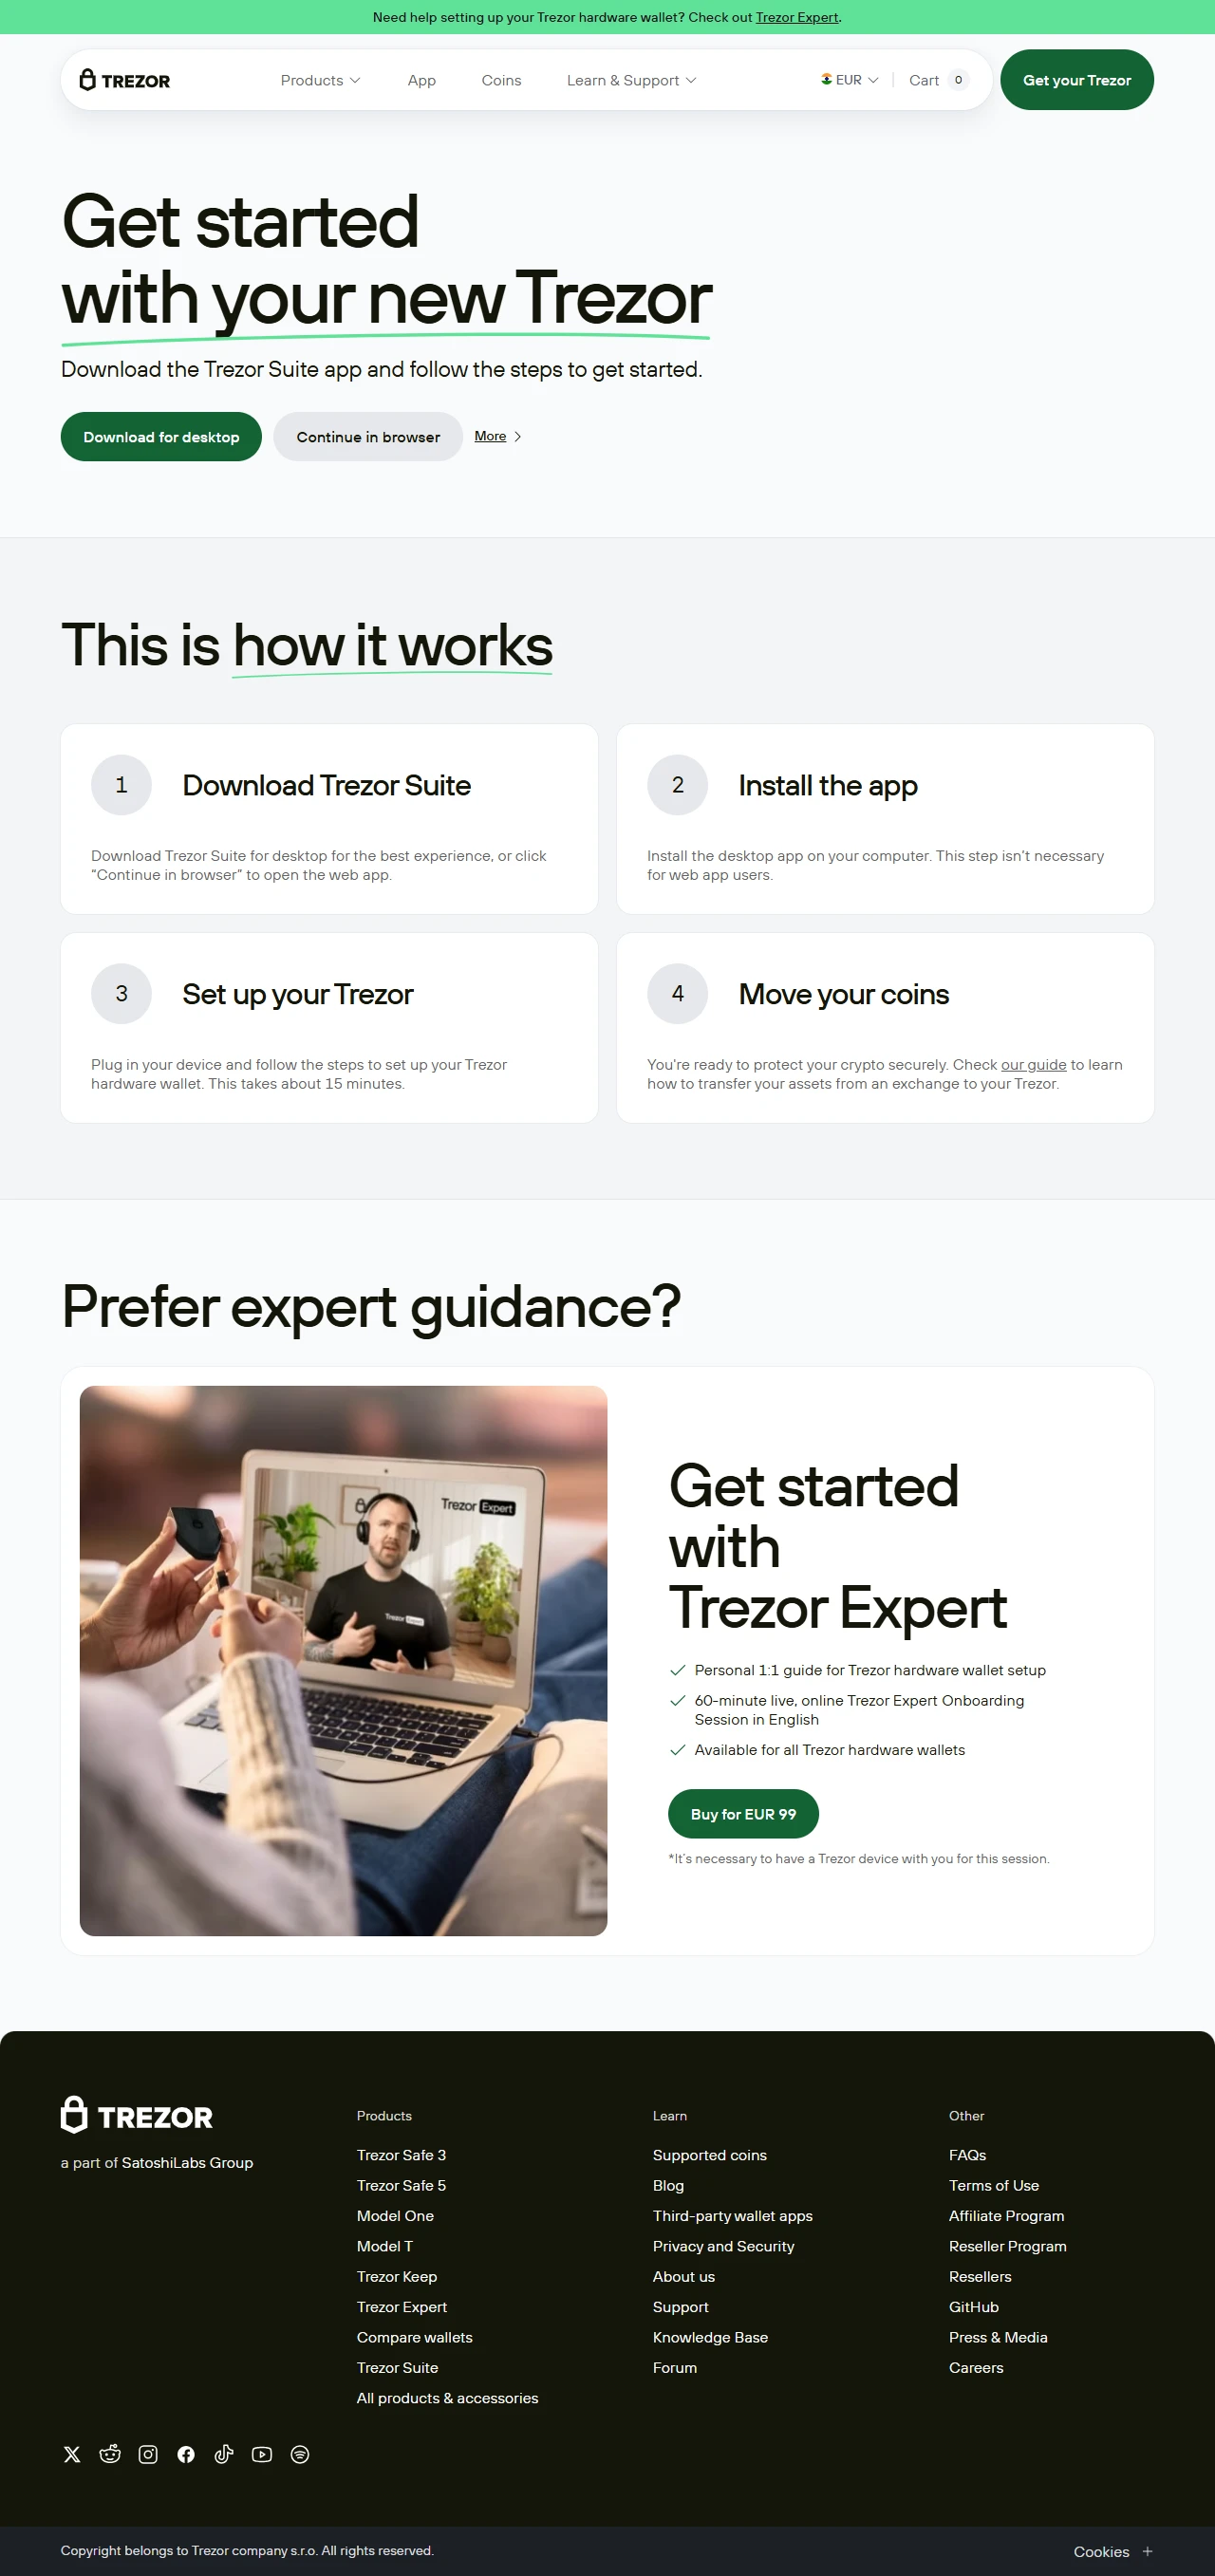
1. Accessing the Setup Portal
Begin by navigating to the official setup page: Trezor.io/start. This portal is designed to guide you through the initialization of your Trezor hardware wallet, whether it's the Model One, Model T, Safe 3, or Safe 5.
2. Downloading and Installing Trezor Suite
Trezor Suite is the companion application that facilitates the management of your cryptocurrency assets. You have the option to use the web version or download the desktop application for enhanced performance. To get started:
-
Download: Choose the appropriate version for your operating system.
-
Install: Follow the on-screen instructions to complete the installation.
Once installed, launch Trezor Suite and connect your Trezor device via the provided USB cable.
3. Initializing Your Device
Upon connecting your Trezor device, Trezor Suite will prompt you to begin the setup process. The steps typically include:
-
Firmware Installation: If your device is uninitialized, Trezor Suite will guide you through installing the latest firmware to ensure optimal performance and security.
-
Creating a New Wallet: For first-time users, selecting "Create new wallet" will initiate the process of generating a new wallet.
-
Backup Creation: You'll be presented with a series of words (recovery seed) displayed on your Trezor device. Write these down on the provided recovery seed card and store it in a secure location. This seed is crucial for recovering your wallet in case of device loss or failure.
-
Setting a PIN: To protect your device from unauthorized access, you'll be prompted to set a PIN. This adds an additional layer of security.
-
Completing Setup: Once these steps are completed, your Trezor device will be ready for use, and you can start managing your cryptocurrency assets securely.
4. Transferring Assets to Your Trezor Wallet
After setting up your Trezor wallet, it's essential to transfer your cryptocurrency holdings from exchanges or other wallets to your new device. Trezor Suite provides a user-friendly interface to facilitate this process. Simply navigate to the "Receive" section, generate a receiving address, and initiate the transfer from your external wallet or exchange.
5. Seeking Expert Assistance
If you're new to cryptocurrency or hardware wallets, setting up a Trezor device might seem daunting. Trezor offers a solution through their Expert Onboarding Sessions. These 60-minute, one-on-one sessions provide personalized guidance to ensure you set up your device correctly and understand the basics of self-custody.
6. Additional Resources
For more detailed instructions tailored to specific Trezor models, consider visiting the following guides:
Conclusion
Securing your cryptocurrency assets is a critical step in your digital finance journey. By following the steps outlined above and utilizing the resources provided, you can ensure that your Trezor hardware wallet is set up correctly and your assets are protected. Remember, the official Trezor.io/start page is your primary resource for setup and guidance. Stay informed, stay secure, and take control of your digital assets with Trezor.